
How to Make Custom Footer in Divi
The Divi Theme Builder by Elegant Themes is an excellent tool that helps us make websites in a new and easy way. Still, some people face difficulties making custom footers using Divi Theme Builder. So, we will go through a detailed procedure to design a custom footer for your website using Divi.
Step-by-Step Process to Make Custom Footer in Divi
You can pick a Footer from the Divi Marketplace or make one from scratch. We will show you how to create a custom footer using Divi theme builder. So, without wasting much time, let’s dive in and start.
As we are going to build a custom footer, follow these steps to get the desired outcome:
- Go to the Theme Builder in your Divi Theme Options.
- Click on the “Build Global Footer.”
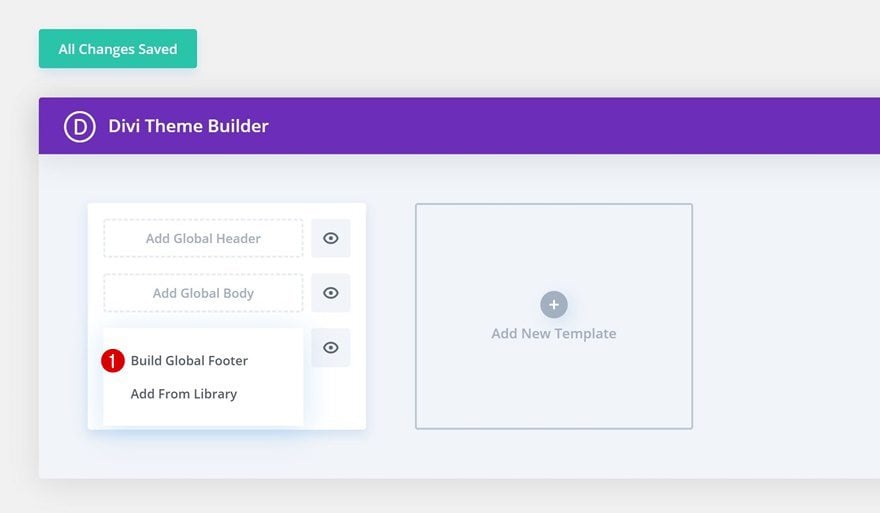
Build Global Footer
- Click on “Build From Scratch.”
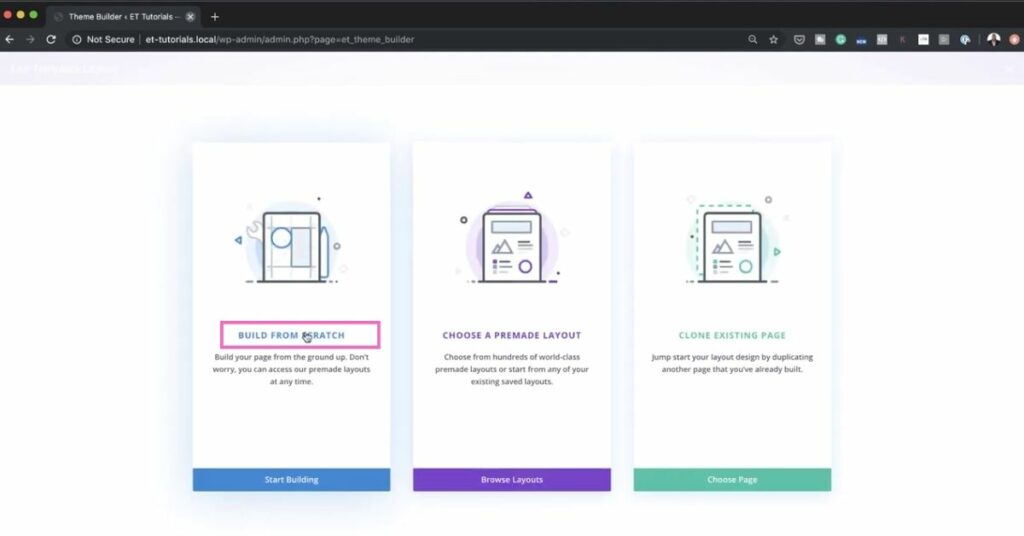
Build From Scratch
Add a Background Color to the Section
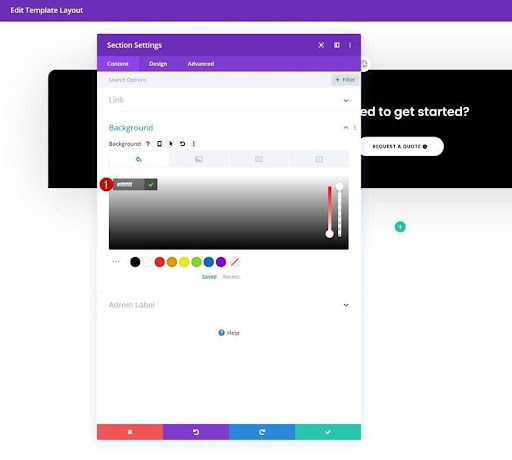
You can add a background color that suits you (e.g., black color) while making your own custom footer in Divi. To add Background color to the footer, follow the following steps:
- Click on the gear icon.
- Then click on the background.
- Afterwards, click on the plus button.
- Then, add any color of your desire as your primary color.
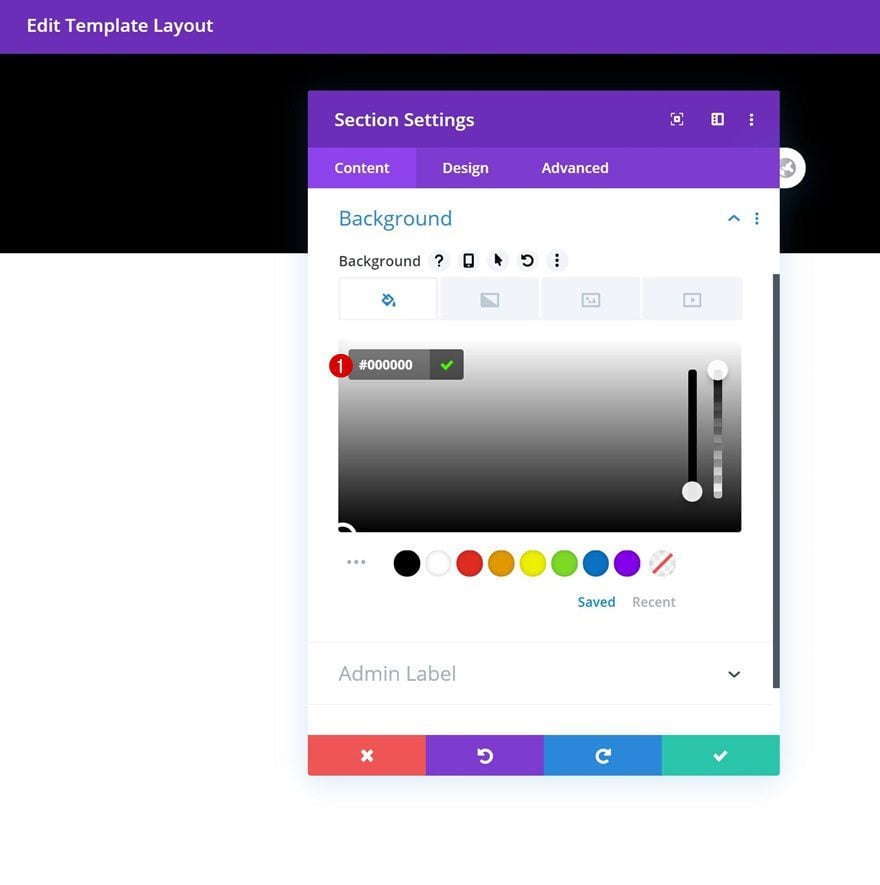
Add Background Color
Read More: A Look at Divi’s New Global Color System
Now, you can add margins to your custom footer. To add some Margins of your own choice to your custom footer section, follow these steps:
- Go to the design tab in the Sections Settings window.
- Then click on “Spacing.”
- Then add margins to the top, bottom, left, and right according to your choice. You can assign them any size you want by simply putting the value in the box.
Now, you can add some padding to your custom footer. To add padding of your own choice, follow these steps:
- Go to the design tab in the Sections Settings window.
- Click on “Padding.”
- Add padding to the top, bottom, left, or right, according to your choice. You can assign them any size you want by simply putting the value in the box.
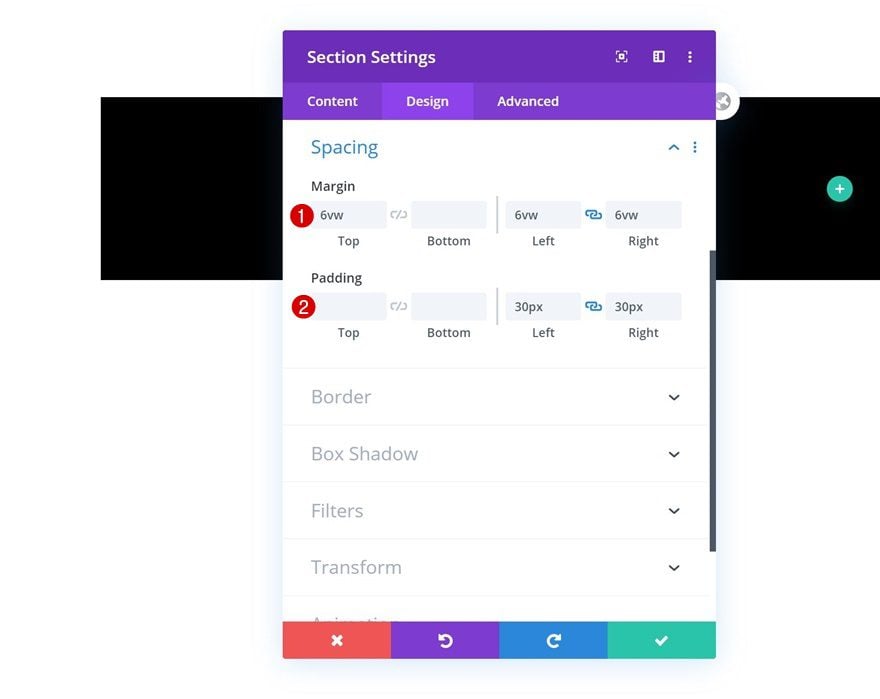
Add Margins and Padding of Section
Read More: Getting Started with Divi: Advanced Settings
Now, you can add borders to your custom footer. To add borders of your own choice, follow these steps:
- Go to the design tab in the Sections Settings window.
- Click on borders.
- Add borders to the top, bottom, left, or right according to your choice. You can assign them any size you want by simply putting the value in the box.
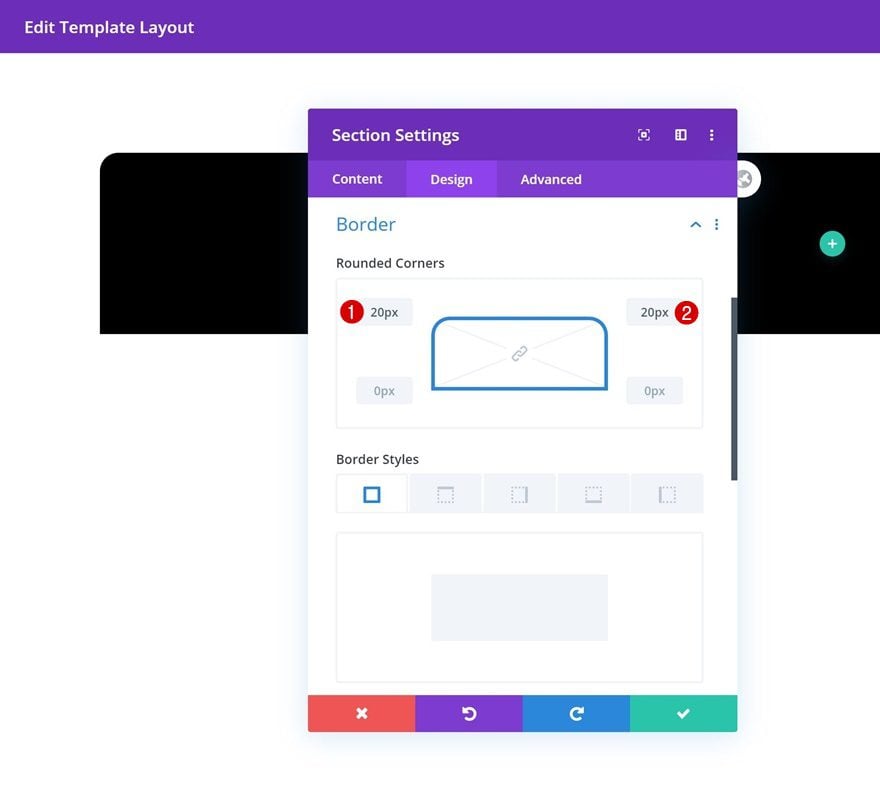
Add borders to the custom footer section
Now, you can add a box shadow to your custom footer. To add a box shadow of your own choice, follow these steps:
- Go to the design tab in the Section Settings window.
- Click on “Box Shadow.”
- Add any sort of design to your box shadow as you want. You can adjust it by simply adjusting the options below (e.g., blur settings).
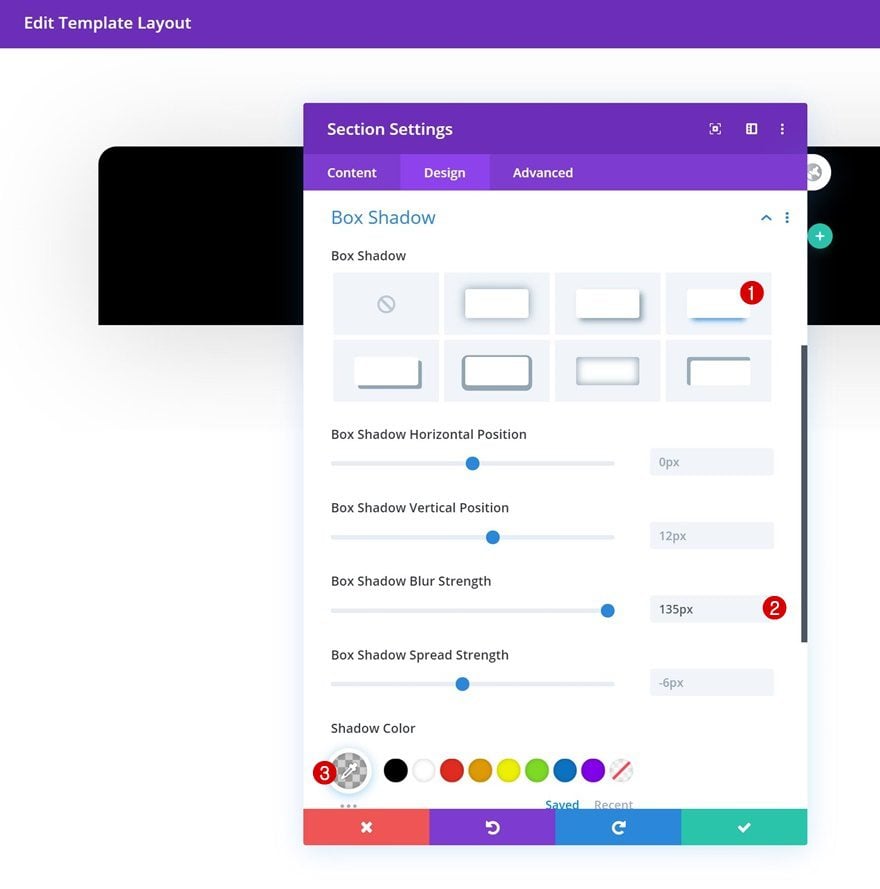
Add box shadow to the custom footer section
Now, you can save your margins, padding, borders, and box-shadow settings.
Learn More: Getting Started with Divi: Design Settings
Add a Row
Now, it’s time to add a row to your custom footer. To add a row to your footer, follow these steps:
- Click on the plus icon. It’ll show you an “insert row” window with two options (New Row, Add from the library); you need to select the “new row” option because you are adding a custom footer.
- Add a single row.
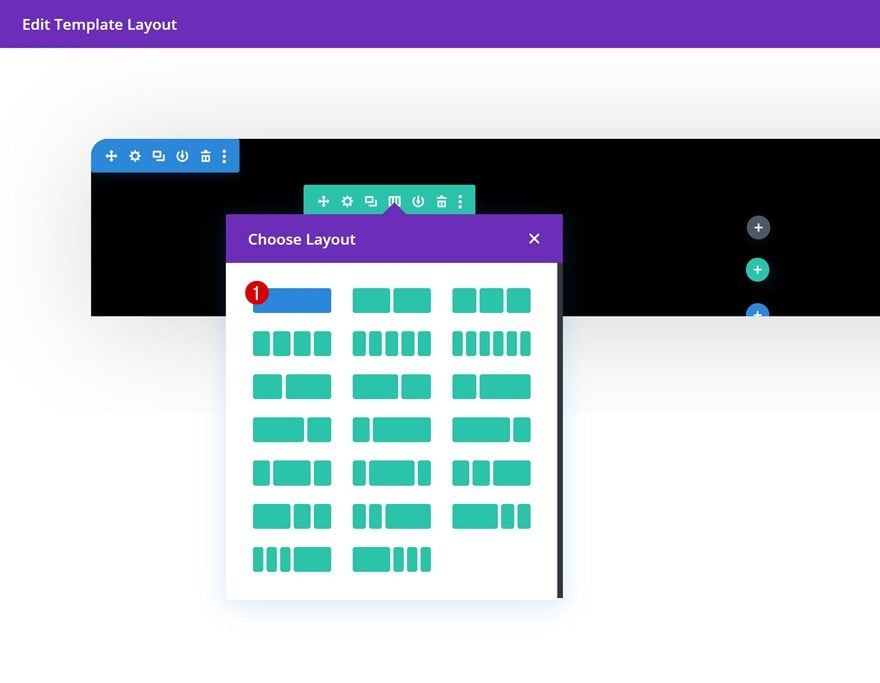
Add Single Row
Now, it’s time to add a text module in the column. To add a text module, follow these steps:
- Find the text module or search for “Text,” and the text module option will pop up.
- Add any type of text that you want in the text box given in the “Text Settings” window.
- Design the text as you want from the design tab in the “Text Settings” window.
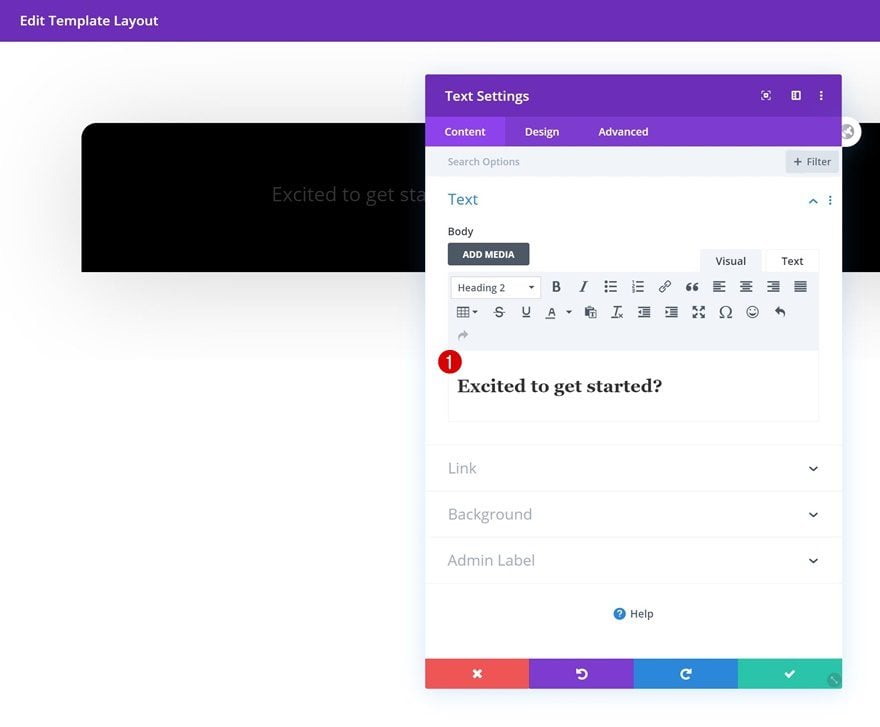
Add a text module
You can add the following things to the text in the Design Tab:
- Text
- Heading Text
- Sizing
- Spacing
- Border
- Box Shadow
- Filter
- Transition
You can assign the text as a title or as a sub-title. You can also insert a link into the text, color it as you want, and many other options in the same “text settings” window. You can also edit the text size for different devices (e.g., mobile, tablet).
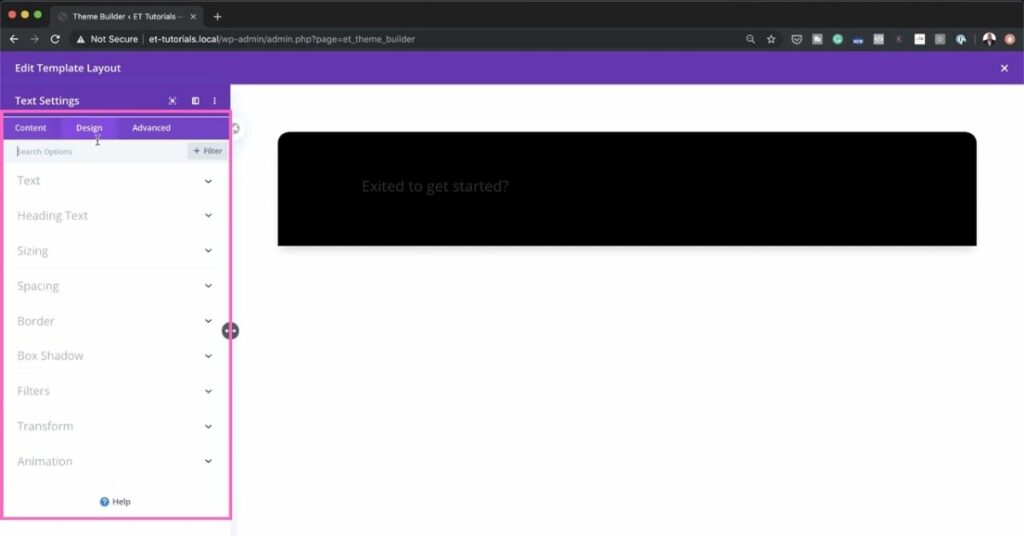
Customize the text module
Read More: Getting Started with Divi: Using Divi Layouts
Add a Button
Now, it’s time to add a button to your custom footer. To add a Button module, follow the following steps:
- Click on the plus icon.
- Search for a button module and add one.
- Name your button by editing the text box in the content tab of the “Button Settings” window.
- Design the button module (e.g., hover options, button size, different fonts) as you want from the design tab in the “Sutton Settings” window.
- You can also put a link to the button as well.
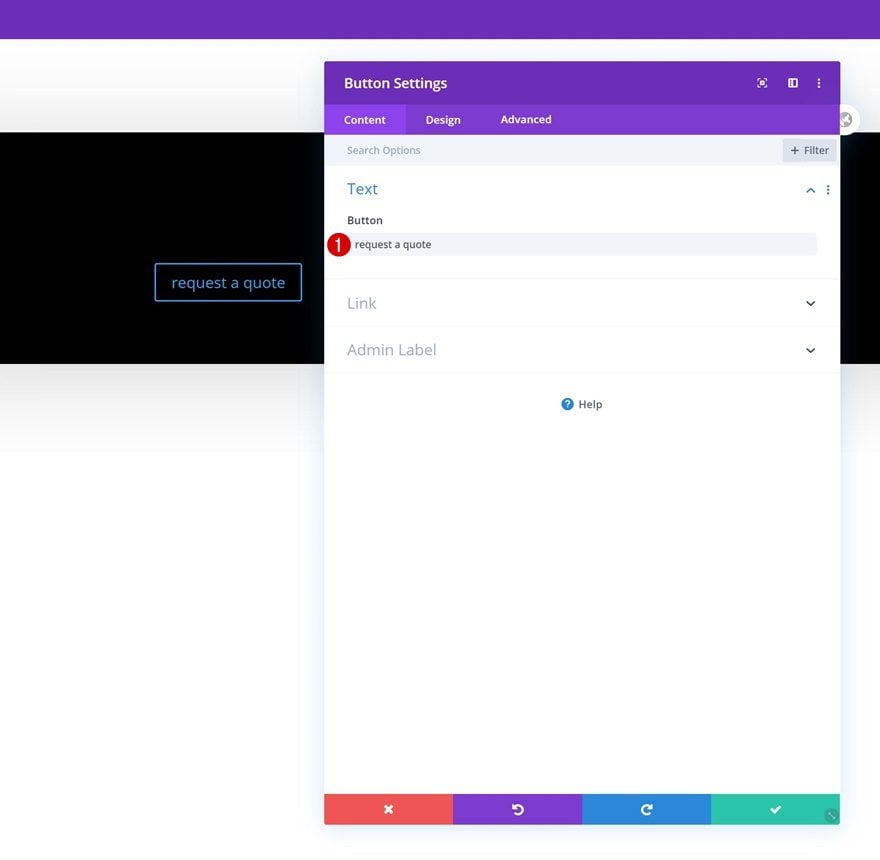
Add a button module to the custom footer section
Learn More: How To Add A Button To A Divi Blurb Module
When you are done setting up your button module, save your work and move on to the next step.
Add More Content to the Footer
If you want to add more content to your footer (e.g., pages like Contact Us, About Us, and Careers), don’t forget to perform the following steps:
- Add a section and customize it.
- Add a column and customize it.
- If you are adding two or more products, services, or pages, don’t forget to add and customize a separate column for each product, service, or page.
- You can keep the same settings for a column by simply copying the column and editing its content.
- Add a module (e.g., button module) and customize it.
- When you are done, save your work by clicking the tick symbol on the bottom left.
I’ve already described these steps above in detail.
Add more content to the custom footer
Read More: Getting Started with Divi: Content Settings
Add Social Links
If you wish to add social links to the custom footer, follow the following steps:
- Add a section and customize it.
- Add social icons to this section.
- Add a column and customize it (I’ve already described above how to add a column).
- Insert the “Social Media Follow” module (I’ve already described above how to add a module).
- To add links, go to the content tab of your “Social Media Module Settings” window. Put links to your social media follow module by clicking the gear icon.
- If you want to reset the colors of your social media icons to your default column background color, right-click on the social media icon name in the content tab of your “Social Media Module Settings” window. And choose “Reset Item Styles”.
- If you don’t want to reset the colors, let them be.
- Customize the social media follow module from the design tab of your “Social Media Module Settings” window.
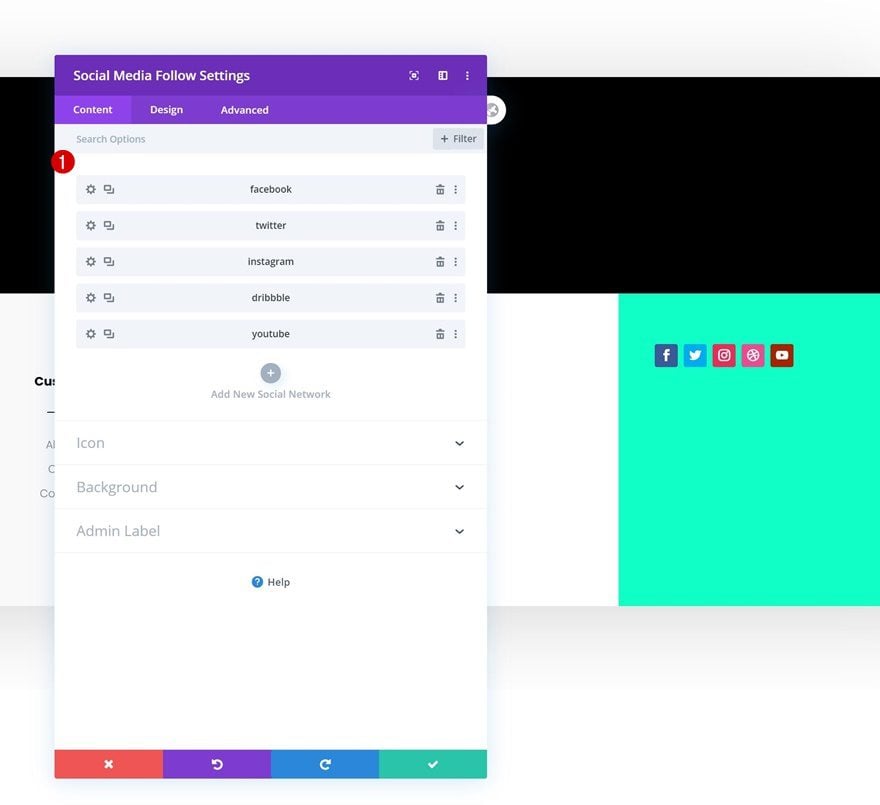
Add Social Links to the custom footer
Read More: How to Add Custom CSS to Divi
Conclusion
Divi Theme Builder makes it easy to create awesome custom footers. You can add any content to your footer by simply adding modules and columns to sections and customizing them. You can save time and make stunning websites using Divi’s features.
Learn More: 3 Ways to Customize the Divi Header


0 Comments