One of the fundamental aspects of web design that significantly influences user navigation and engagement is the website’s header. And in this realm, the concept of a “sticky header” has gained immense popularity. A sticky header, also known as a fixed or floating header, is a design element that remains at the top of a webpage as users scroll down.
It’s a dynamic feature that provides easy access to essential elements such as the navigation menu and logo, enhancing user interaction and site usability.
For those who have chosen Divi as their WordPress theme, creating a sticky header is a breeze, thanks to the theme’s built-in Sticky Options. Divi, renowned for its versatility and user-friendly features, empowers web designers and developers to craft stunning and functional websites. In this comprehensive article, we’ll explore how to harness the power of Divi’s Sticky Options to create a captivating and user-friendly sticky header for your website.
So, let’s dive in and learn how to elevate your web design game by making your website’s header “stick” with Divi’s Sticky Options. Get ready to take your web design to the next level with Divi’s powerful capabilities.
Understanding Sticky Headers
What are Sticky Headers?
A fundamental step before using Divi’s Sticky Options is understanding precisely what sticky headers are and why they are a valuable asset in web design.
A sticky header, also known as a fixed or floating header, is a website design feature where the header section remains visible at the top of the webpage as users scroll down the content. Unlike traditional headers that disappear as users scroll, a sticky header “sticks” to the top of the screen, ensuring that essential navigation elements, such as the menu and logo, remain accessible at all times.
The Benefits of Sticky Headers
The appeal of sticky headers lies in the benefits they offer to both website owners and users:
- Enhanced User Experience: Sticky headers make it easier for users to navigate a website, reducing the need to scroll back to the top to access essential elements. This convenience can lead to increased user engagement and longer on-page durations.
- Improved Brand Visibility: Keeping your logo prominently displayed in the header, even as users scroll, reinforces your brand identity. It ensures that visitors always have your brand in view, which is especially valuable for brand recognition.
- Efficient Navigation: With a sticky menu, users can effortlessly switch between different sections of the website, enhancing user convenience and overall satisfaction.
- Call to Action (CTA) Accessibility: Sticky headers can be optimized to include prominent Call to Action buttons, making it easier to encourage user interaction and conversions.
Why Use Divi for Sticky Headers?
While the concept of sticky headers is compelling in itself, what makes Divi a preferred choice for implementing this feature? Divi is more than just a WordPress theme; it’s a comprehensive web design toolkit that empowers users to create visually stunning and highly functional websites without the need for extensive coding or design expertise.
With Divi, you have access to a wide range of modules and customization options, including the Sticky Options, which streamline the process of making your website’s header sticky. Divi is designed to be user-friendly and versatile, making it an ideal choice for both beginners and experienced web designers.
In the following sections of this blog, we will delve into the step-by-step process of setting up Divi for sticky headers, customizing the appearance and behavior of your sticky header, and troubleshooting common issues that may arise during the implementation.
Now that you have a grasp of the concept of sticky headers and why Divi is an excellent choice for this endeavor, let’s move on to the practical steps of setting up your website with Divi’s Sticky Options.
Setting Up Divi for Sticky Headers
Make Sticky Headers in Divi.
Creating a sticky header is an efficient process that involves several steps. In this section, we’ll guide you through the initial setup, ensuring you have everything in place before customizing your sticky header.
Step 1: Install and Activate Divi
Before you can start building your sticky header, you need to have the Divi theme installed and activated on your WordPress website. Here’s how to do it:
- Access Your WordPress Dashboard: Log in to your WordPress admin panel.
- Navigate to the Themes Section: In the WordPress dashboard, go to “Appearance” and select “Themes.”
- Add New Theme: Click on “Add New” to search for and install Divi.
- Search for Divi: In the search bar, type “Divi” and hit enter.
- Install and Activate Divi: When you see the Divi theme, click the “Install” button and then activate it.
With Divi installed and activated, you’re ready to move on to the next step.
Step 2: Enable Divi Builder
Divi Builder is the powerful page builder tool that comes with Divi, and it’s essential for customizing your website’s header. Here’s how to enable it:
- Create or Edit a Page: In your WordPress dashboard, create a new page or edit an existing one.
- Enable Divi Builder: Click the “Enable Divi Builder” button. This will open up the Divi Builder interface.
Now that you’ve activated Divi Builder, you can start building your header section.
Step 3: Create a Header Section
In this step, we’ll guide you on creating a header section using Divi Builder:
- Add New Section: Inside Divi Builder, click the “+” button to add a new section to your page.
- Choose a Structure: Select the structure that fits your needs. For a typical header, a single-row structure works well.
- Customize the Section: You can now customize the section by adding various modules like the logo, menu, or other elements you want in your header.
With your header section created, you’re ready to access Divi’s Sticky Options.
Step 4: Access Sticky Options
Divi’s Sticky Options are what make your header sticky. To access these options:
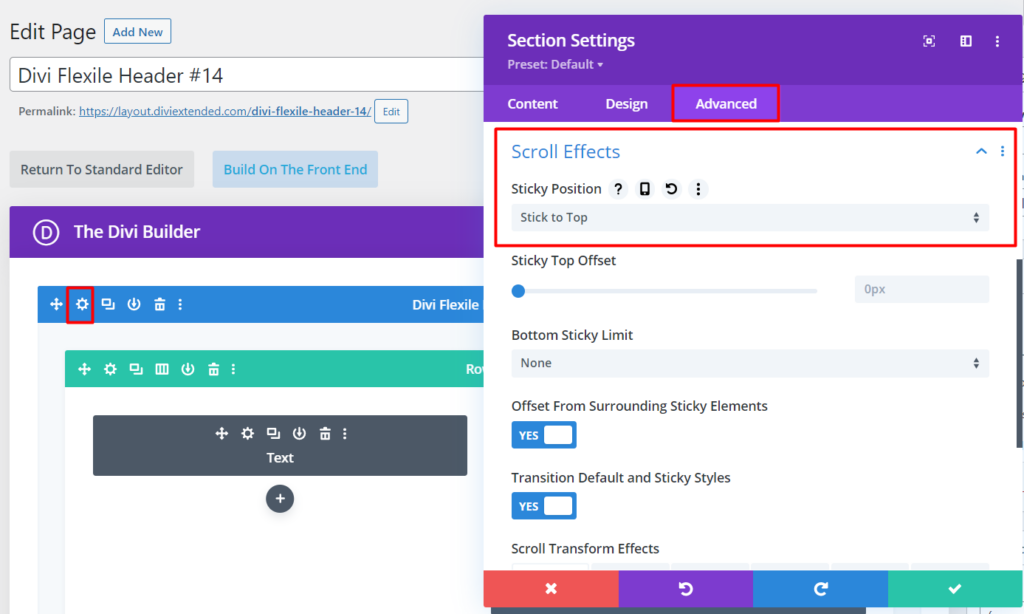
- Within the Header Section: Go to the section settings by clicking the gear icon while hovering over the section.
- Sticky Section: Inside the section settings, go to the “Advanced” tab to access advanced settings and enable the “Make This Section Sticky” option.
- Configure Sticky Options: Here, you can configure the sticky options to suit your design and user experience preferences.
With Divi’s Sticky Options enabled, you’ve now set the foundation for your sticky header. The next section will guide you through customizing the design and behavior of your sticky header.
Configuring Sticky Header Options
Configuring Sticky Header Options
Now that you’ve set up Divi for sticky headers, it’s time to customize your sticky header’s appearance and behavior to match your website’s style and user preferences. In this section, we’ll walk you through the essential configurations.
Enable Sticky Header
Enable Sticky Header Option.
The first step is to enable the sticky header feature:
- Access the Section Settings: Hover over your header section and click the gear icon to access the section settings.
- Advanced Tab: Inside the section settings, navigate to the “Advanced” tab.
- Make This Section Sticky: Check the box that says “Make This Section Sticky.” This action makes the section sticky when visitors scroll down the page.
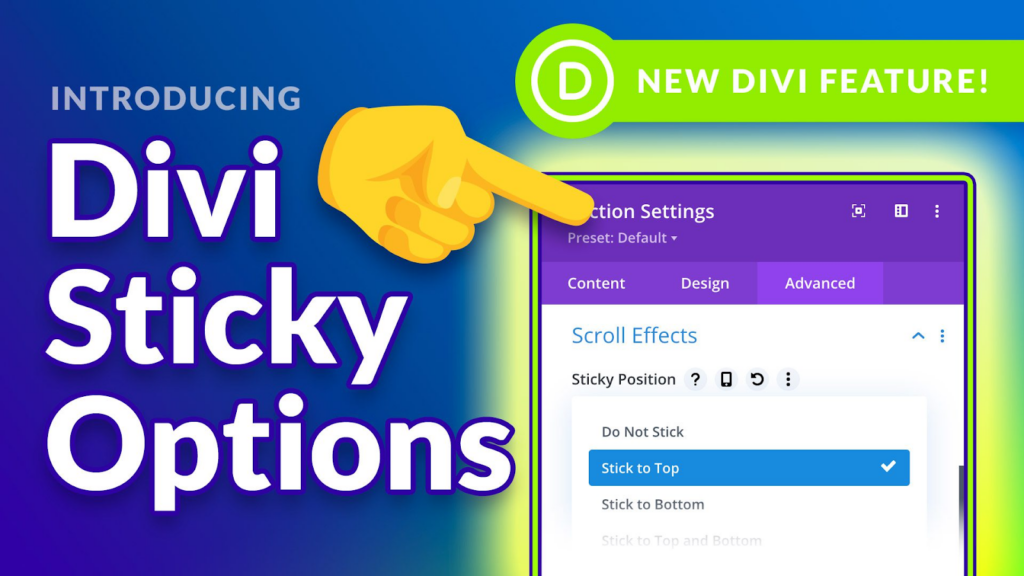
- Sticky on Scroll: Set your preference for when the section becomes sticky. You can choose to make it sticky immediately or after scrolling a certain distance.
Customize Sticky Header Design
With your sticky header enabled, it’s time to make it visually appealing. Customize the header design to align with your website’s branding:
- Customize Appearance: Inside the section settings, navigate to the “Design” tab.
- Background Color and Text Styles: Adjust the background color, text styles, and other design elements to match your website’s branding.
- Typography and Spacing: Fine-tune the typography and spacing to ensure a cohesive look.
Add Logo and Navigation
A prominent logo and easily accessible navigation are essential elements of your sticky header.
- Add Logo: Within the header section, you can add your logo using a Divi module. Adjust the size and positioning to your liking.
- Navigation Menu: Include your navigation menu in the header section. Customize the menu items and their order.
- Mobile Optimization: Ensure that your sticky header is mobile-responsive. Divi provides options to control the appearance of the sticky header on mobile devices.
Adjust Sticky Header Behavior
To further customize your sticky header’s behavior, Divi offers a range of options,
- Scroll Effects: Divi allows you to add scroll effects to your sticky header, enhancing user engagement and visual appeal. You can create various effects like animations, transitions, and opacity changes.
- Mobile Visibility: Control when and how the sticky header is displayed on mobile devices. You can choose whether it remains fixed, hides, or appears differently on smaller screens.
With these configurations, you’ve now crafted a personalized sticky header that enhances user experience and aligns with your website’s design.
So, let’s move on to the testing phase to guarantee a seamless user experience.
Testing Your Sticky Header
Now that you’ve configured your sticky header using Divi’s Sticky Options, it’s essential to ensure that it works flawlessly and looks great across different devices and screen sizes. This section will guide you through the testing process.
Preview Your Website
Before making your sticky header live, it’s a good practice to preview it:
- Save Changes: Ensure that you’ve saved all your changes to the header section.
- Preview Your Page: Click on the “Preview” button in your page editor to see how your sticky header behaves when you scroll through your webpage.
Responsive Viewing
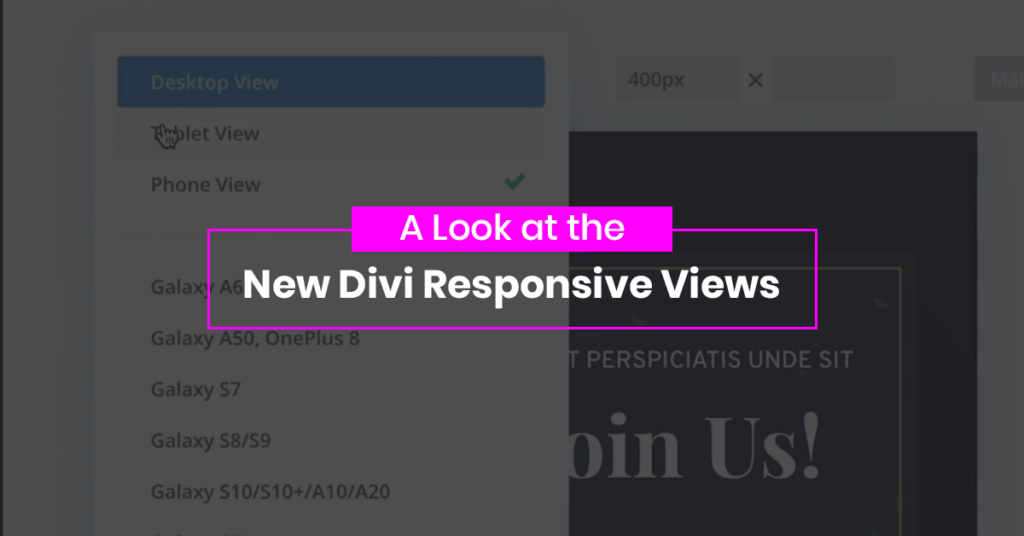
Perform Responsive View testing on devices.
It’s crucial that your sticky header looks and functions well on a variety of devices, including desktops, tablets, and smartphones. Here’s a look at the new Divi Responsive views testing:
- Resize Your Browser: While in the preview mode, manually resize your browser window to emulate different screen sizes.
- Check Mobile Responsiveness: Pay special attention to how the sticky header appears on mobile devices. Verify that the elements are appropriately sized and that the navigation is easily accessible.
- Cross-Browser Testing: Test your sticky header on multiple web browsers to ensure compatibility.
- User Testing: If possible, have other users, including those with different devices and browsers, test your website and provide feedback.
By thoroughly testing your sticky header, you can identify any issues or inconsistencies and make necessary adjustments to provide a more efficient web design experience for your website visitors.
Now let’s explore troubleshooting common issues that may arise during the implementation of a sticky header. We will also discuss strategies for resolving these issues, so your website remains user-friendly and visually appealing.
Troubleshooting and Common Issues
Creating a sticky header with Divi’s Sticky Options is a relatively straightforward process, but like any web development task, you may encounter challenges. In this section, we’ll address some common issues that may arise and provide solutions to resolve them.
Header Conflicts
Issue: Sometimes, your sticky header may conflict with other elements on your website, such as plugins or themes, causing unexpected behavior or display issues.
Solution:
- Plugin Conflicts: Deactivate other plugins one by one to identify any that may be causing conflicts with your sticky header. Once identified, reach out to the plugin’s support or look for alternative plugins with better compatibility.
- Theme Conflicts: If your theme is causing conflicts, consider reaching out to Divi’s support for guidance on resolving the issue. In some cases, updating your theme may be necessary.
Sticky Header Not Working
Issue: Your sticky header may not behave as expected, such as not becoming sticky when scrolling or displaying incorrectly.
Solution:
- Check Sticky Settings: Review the settings in Divi’s Sticky Options to ensure that the “Make This Section Sticky” option is enabled and configured correctly.
- Custom Code Conflicts: If you’ve added custom CSS or JavaScript to your website, it might be conflicting with the sticky header. Review your custom code and consider removing or modifying it to resolve the issue.
- Cache and Browser Issues: Clear your browser cache and test your website in an incognito or private browsing window. Sometimes, cached data can interfere with the display of the sticky header.
By addressing these common issues and following the provided solutions, you can troubleshoot problems effectively and ensure that your sticky header functions as intended.
Conclusion
In the dynamic landscape of web design, a sticky header powered by Divi’s Sticky Options has the potential to be a game-changer. Throughout this comprehensive article, we’ve delved into the process of creating a sticky header that not only elevates the visual appeal of your website but also enhances the user experience in a significant way.
As you’ve learned, Divi’s powerful yet user-friendly toolkit equips you with the tools necessary to craft a header that remains a constant companion to your visitors as they explore your website. It offers convenient access to essential elements, such as the navigation menu and your brand’s logo, ensuring smooth navigation and reinforcing brand identity.
The benefits of a sticky header are clear. It streamlines user interaction, boosts brand recognition, and facilitates efficient navigation. Call-to-action buttons become more accessible, and the overall user experience is significantly improved.
By following the steps outlined in this guide, you’ve gained the knowledge and skills needed to implement and customize a sticky header that resonates with your audience. You’ve learned how to overcome common challenges and ensure that your header functions seamlessly across various devices and screen sizes.
With Divi’s Sticky Options, you can take your website to the next level, engaging visitors, and enhancing their journey through your digital domain.
Now, it’s time to put this knowledge into practice and watch your website come to life with a sticky header that not only captures attention but also keeps users engaged and satisfied. Thank you for joining us on this journey, and we wish you all the best in your web design endeavors.


0 Comments