The Divi Builder is the primary tool of Divi. The Divi Builder is both simple and complex. On the surface, it’s just a few building blocks with simple settings. Once you dig a little deeper, you’ll find lots of details that can get confusing quickly. In this third part of getting started with Divi, we’ll look at the most basic elements of the Divi Builder to help you get started building your own Divi websites.
Backend Builder
You can build on either the frontend or backend. Both can build the same pages. Choosing which to use is a matter of preference. This is the backend Divi Builder, which works from the WordPress dashboard.
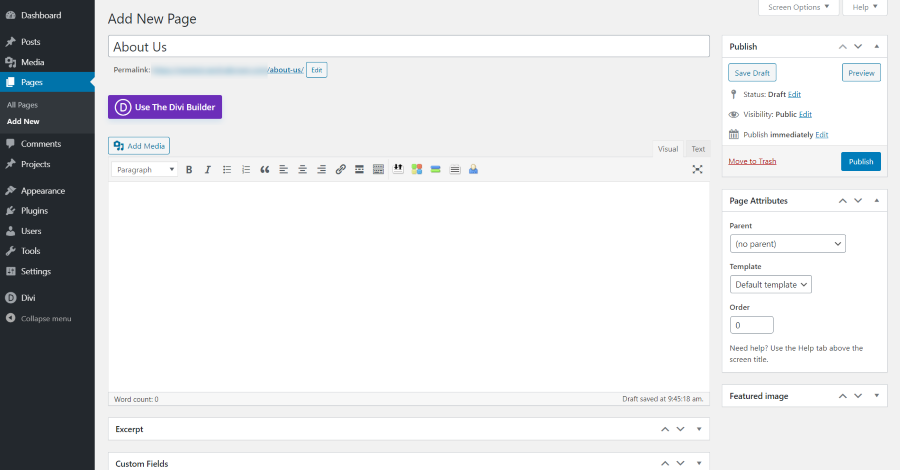
If you’ve enabled the Classic Builder (Divi Theme Options > Builder > Advanced > Enable Classic Builder), you’ll see the backend WordPress editor when you click to create a new page or post. This editor includes a large purple button to enable the Divi Builder.
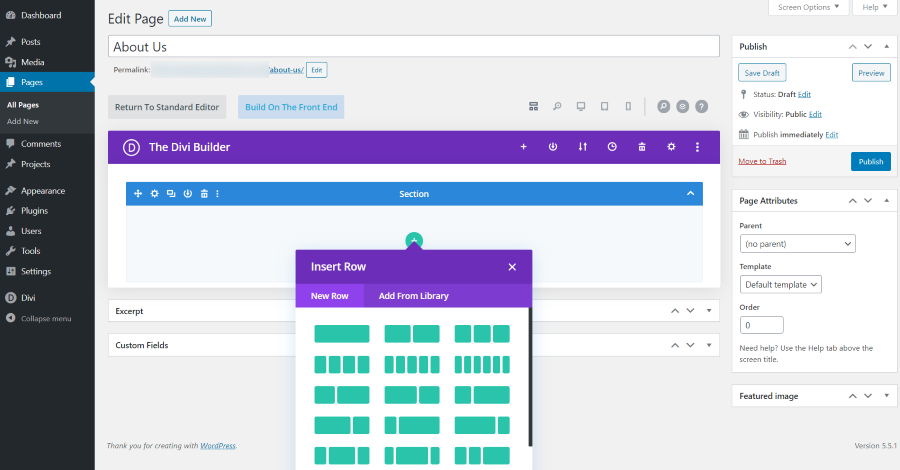
Clicking the button opens the Divi Builder on the backend. The button is replaced with a new button to return to the standard editor and a new button is added to build on the front end. The editor is replaced with the Divi Builder, where you can add sections, rows, and modules. These are the building blocks that you’ll use to build your layouts (more on those in a moment).
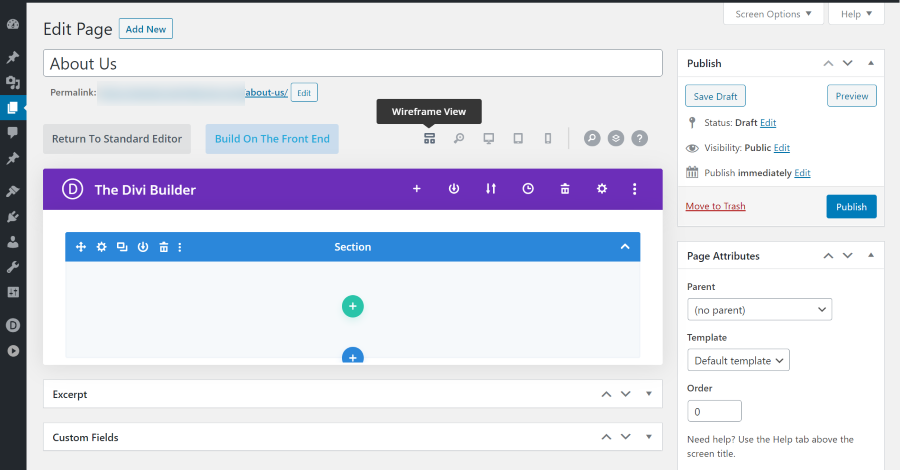
Above the builder, you’ll see buttons that provide different views. See the wireframe version (this shows all of the elements as blocks), zoom, and see the desktop, tablet, and phone versions of your layout. Next to this is a set of buttons where you can adjust the settings using commands, edit the layout as layers, and see videos for help.
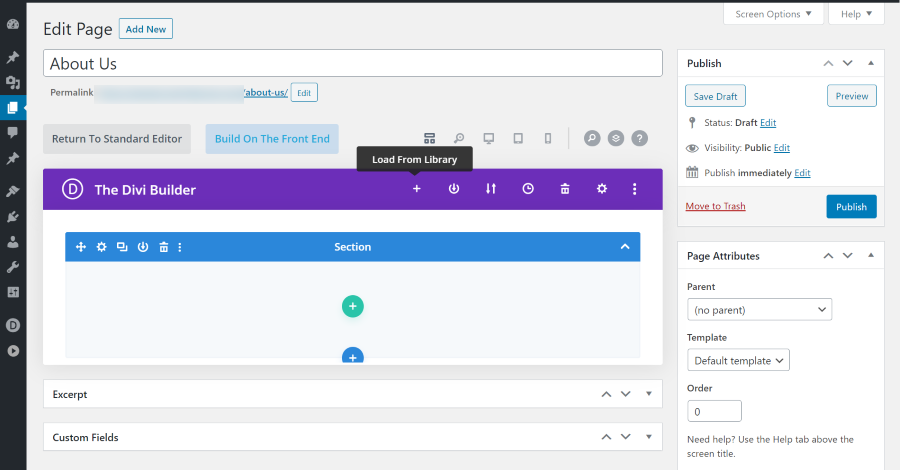
Across the top of the builder is another set of buttons. Here, you can load a layout from the library, save your layout to the library, import or export a layout, view the editing history, delete the layout, edit the page settings, and edit the builder settings.
Frontend Builder
The front-end builder, called the Visual Builder, works on the front side of the website that displays when people visit the website. The advantage is that you get to build the page exactly the way your visitors will see it. Of course, they won’t see the builder. They’ll only see the pages as you’ve published them.
Clicking to build on the frontend (from either the Classic Builder or the default Gutenberg editor) takes you to the front end of your website and places the Divi Builder on a blank page. It includes the same Divi tools, but the layout is different. It shows the desktop view by default, which displays the modules as they will appear to your visitors.
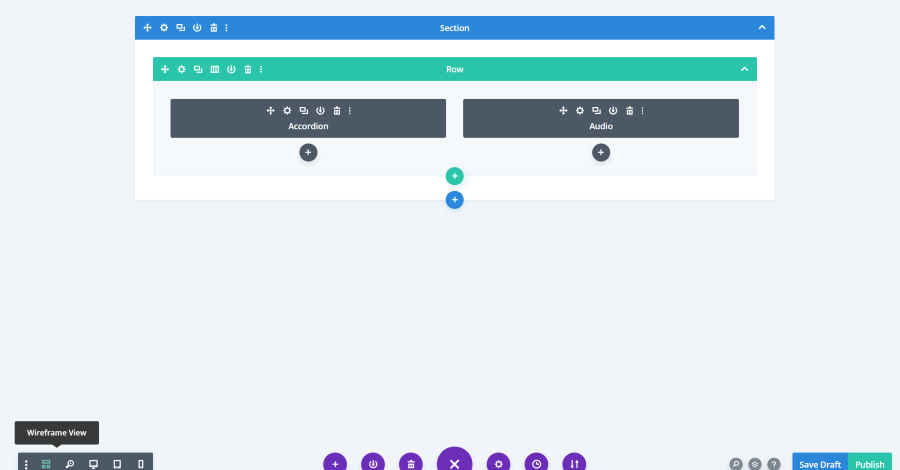
At the bottom, you’ll see a purple circle with three dots. Clicking this opens the settings. These are the same settings that appear at the top of the backend builder. You can also save the draft or publish the post in the bottom right corner. I’ve selected the Wireframe View and added a row with 2 columns and a couple of modules.
Using the Divi Builder
The Divi Builder is made up of sections, rows, and modules. They include standard settings and can be saved to your Library. You can also save them as a global element, which lets you change the element once and the change is reflected on every page that uses that global element. You can also create a different version of each and you can select which will display on a desktop, tablet, and phone.
Here’s a look at each of these elements.
Sections
Sections are the largest building blocks. They can contain multiple rows, which means they can be used to group content together. For example, you can use different sections on the same page to show your services, products, projects, testimonials, blog posts, company information, etc. By designing them as a section they’re easy to move around and re-use on other pages.
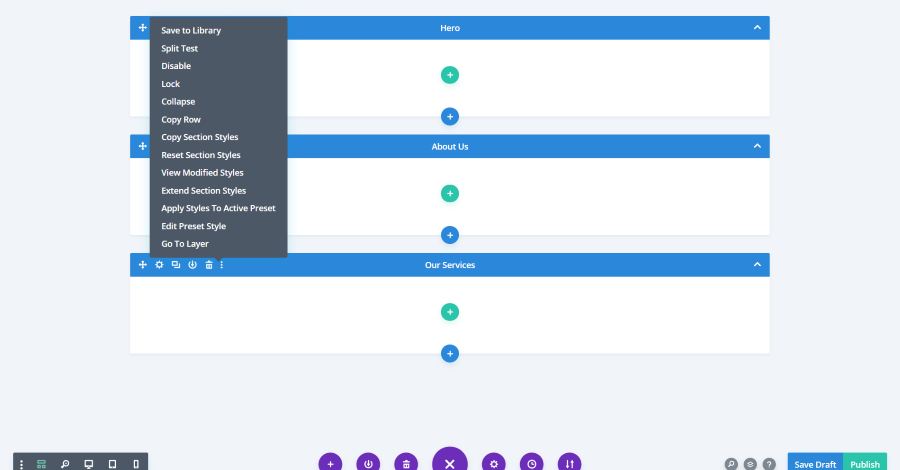
They’re highlighted in blue. Across the top you’ll see a plus with arrows that you can grab and drag the section up or down, a gear to open the settings, duplicate, save to Library, delete, and more settings where you can copy and apply styles, etc.
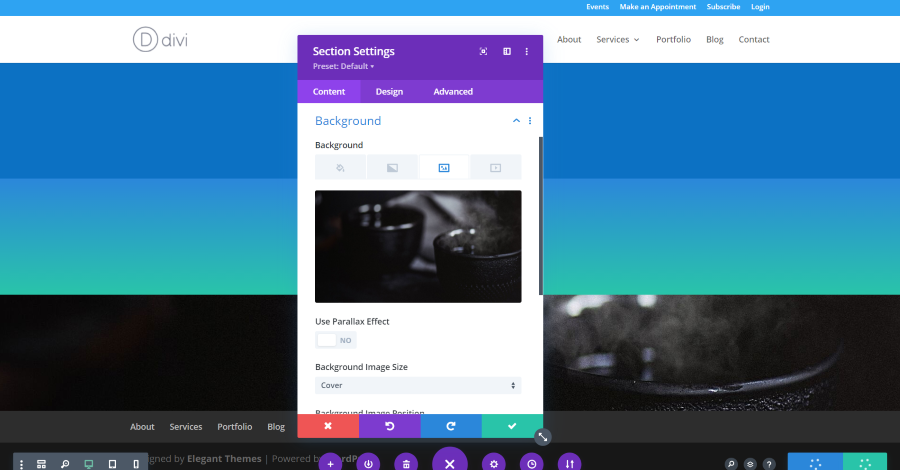
The section settings include Content, Design, and Advanced tabs where you can change the background colors, adjust dividers, shadows, sizing, etc. In this example, I’ve added a blue background to the first section, a gradient to the second section, and an image to the third section. You can move this settings box or lock it into place using the tools at the top of the box.
Rows
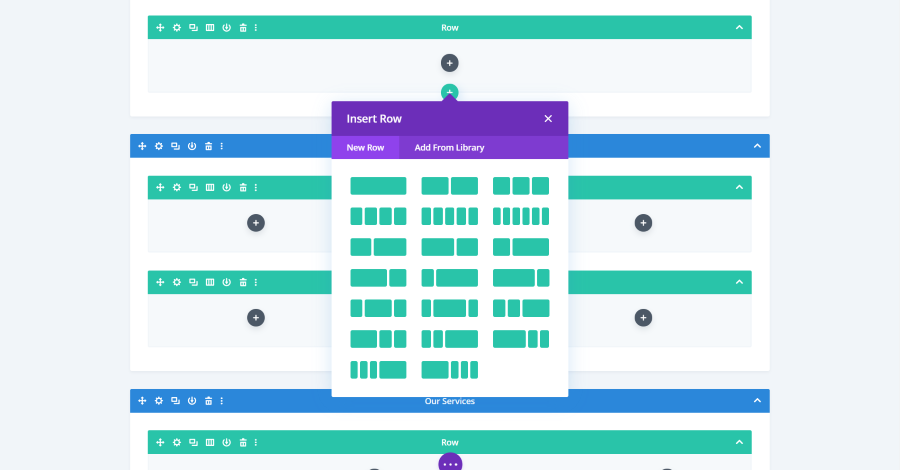
Rows are placed inside the sections. You can have as many rows in a section as you want and each row can their own number of columns. Choose from 1-6 columns and between columns of various widths. Rows are highlighted in green.
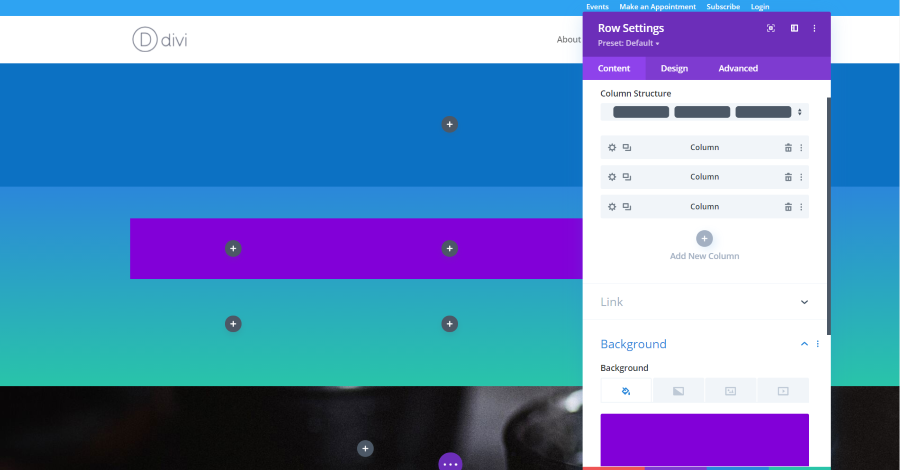
Rows also include Content, Design, and Advanced settings. Choose the column structure, style each column separately, adjust the size, borders, shadows, backgrounds, etc. I’ve added a purple background to a row.
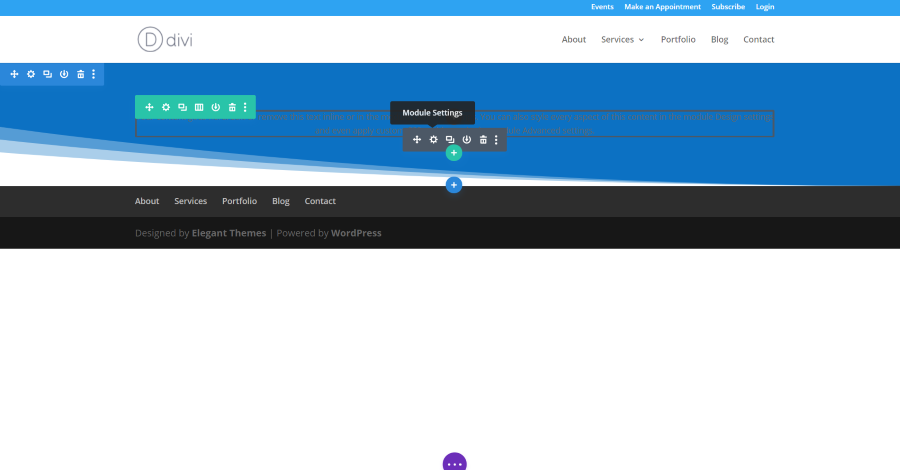
Modules
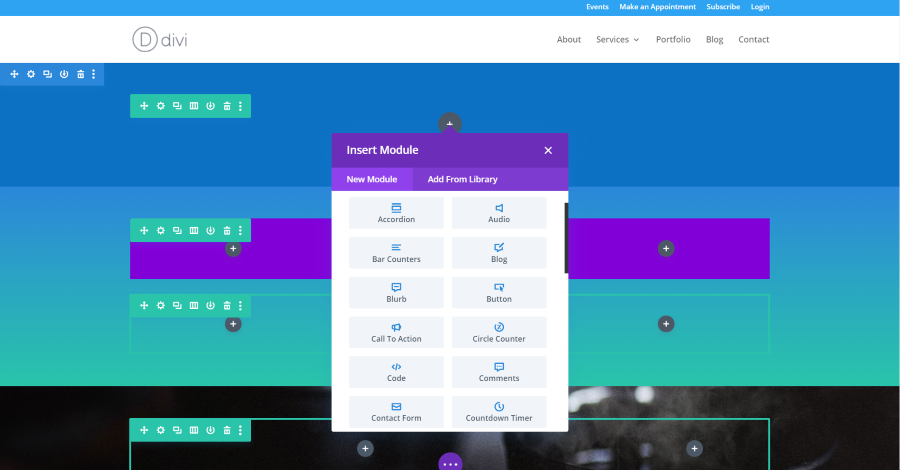
Modules are the content elements that display on the pages. They’re placed within the columns of the rows. Divi has 38 main modules and adds even more if you have WooCommerce installed and several that are designed specifically for full-width sections. There’s no limit to the number of modules you can use.
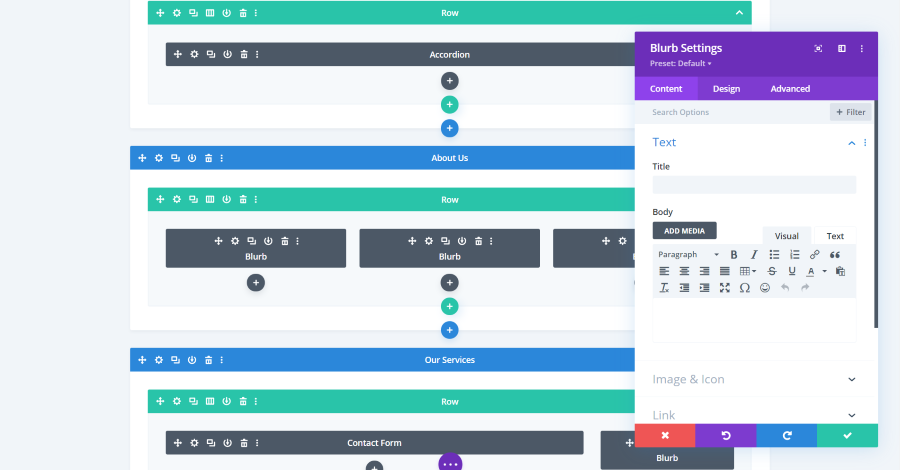
Modules also include the standard settings including the Content, Design, and Advanced tabs. Many of the modules include settings that are specifically designed for their content. Adjust colors, sizes, shadows, fonts, images, and lots more.
In the desktop, tablet, and phone views you can see the designs change as you adjust the settings.
Creating a Divi Layout
The best way to learn to use the Divi Builder is to load sections, rows, and modules and start playing around with them. Let’s build a simple page. I’m using the Visual Builder.
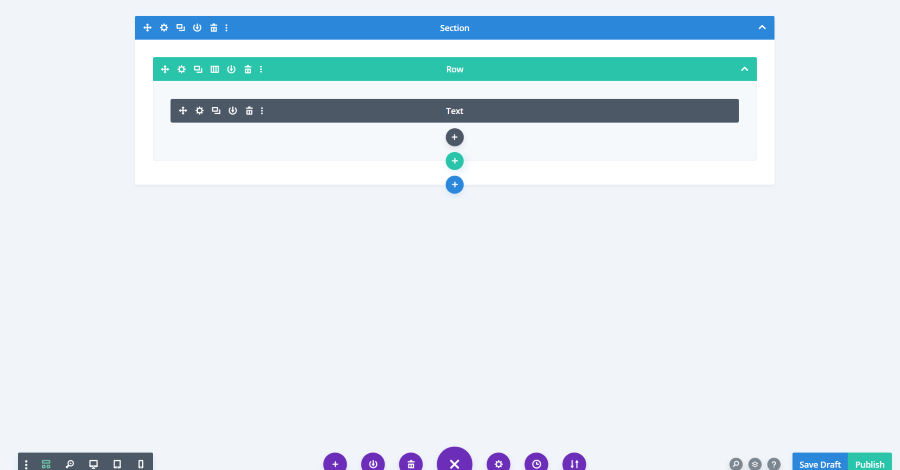
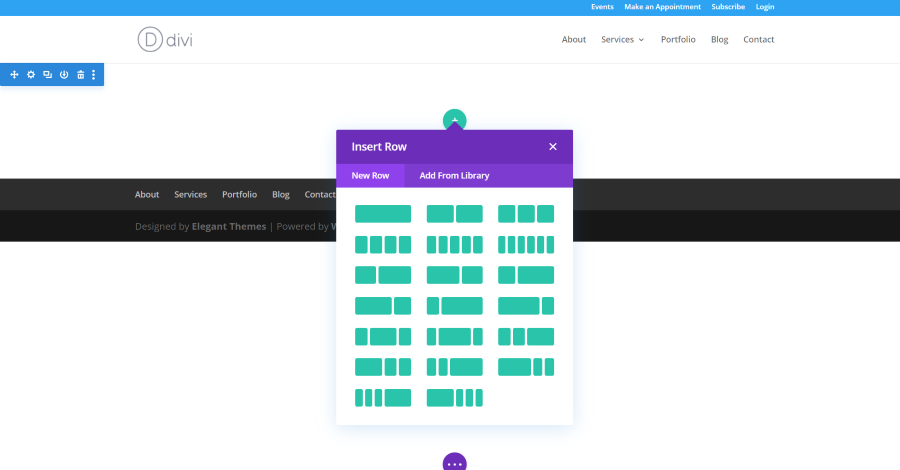
Create a page and use the Divi Builder. When it opens the rows, select a single column row. Next, it will open the modules. Select a Text module.
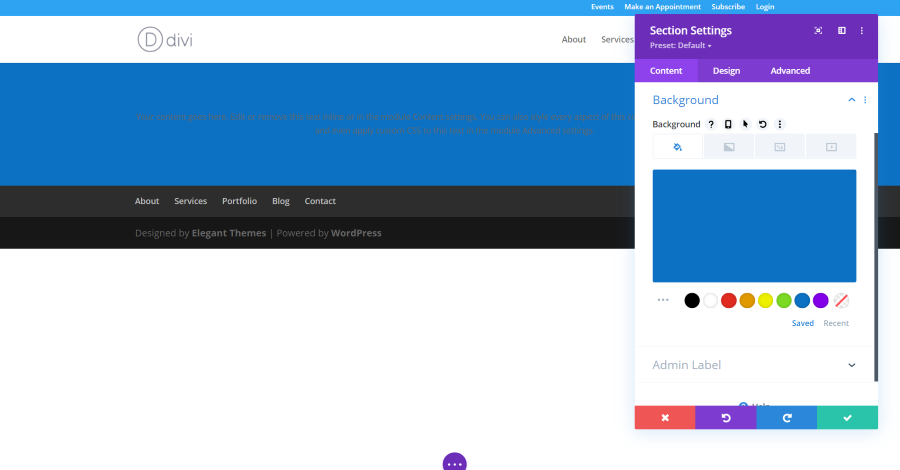
Select the gear icon for the section. Scroll down to Background and choose any color you want.
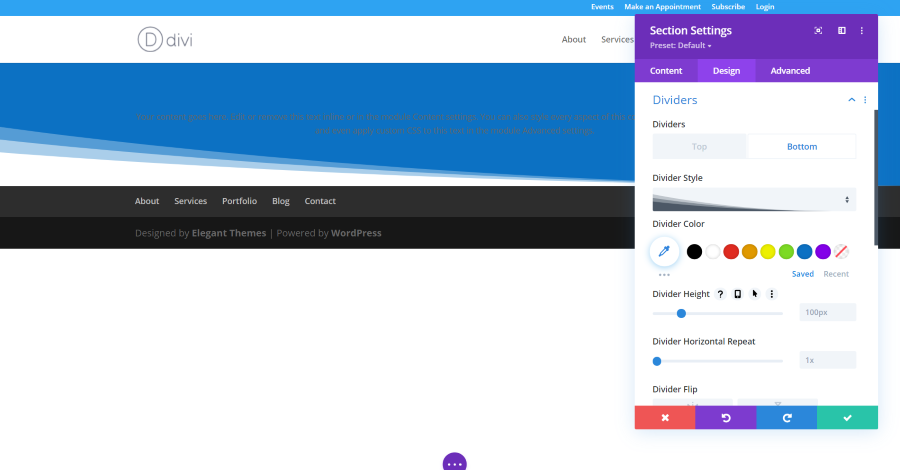
Select the Design tab and click on Dividers. Select Bottom in Dividers. Under Divider Style, choose the style of divider you want for your layout. Under this, you’ll see options for colors, sizes, etc. Make any changes you want and click the green checkmark in the bottom right corner of the settings.
Next, click the module settings for the Text module.

In the Text area of the Content tab, enter the name of the page. In the dropdown box under the Add Media button, select Heading 1.
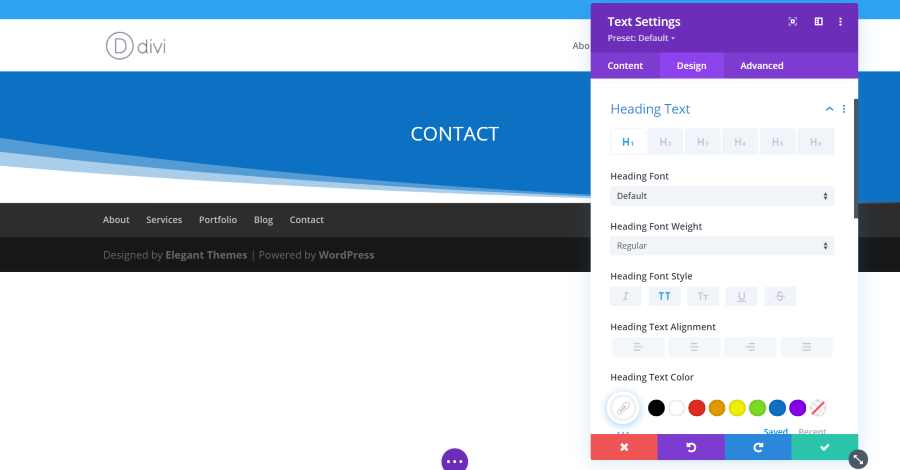
Select the Design tab and then select Heading Text. Choose the settings you want for your text. I changed the text to white and selected all-caps. Click the green checkmark.
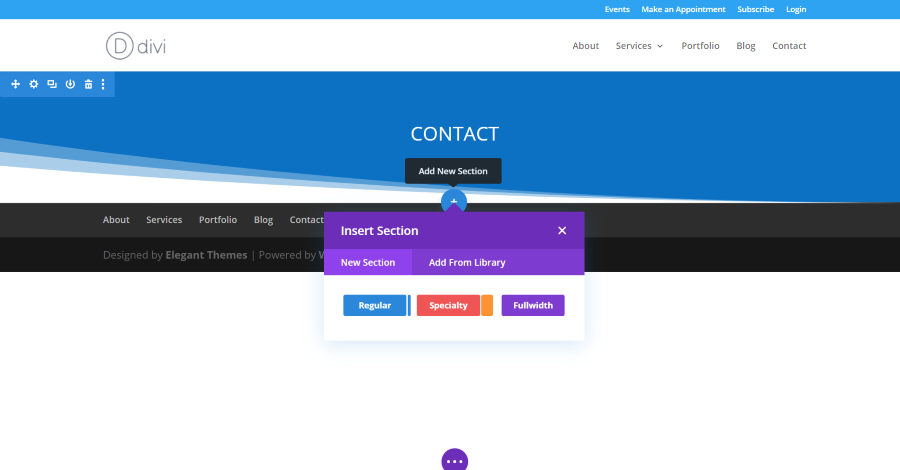
Hover over the section and you’ll see a blue icon appear that allows you to add a new section. Click the icon and select Regular.
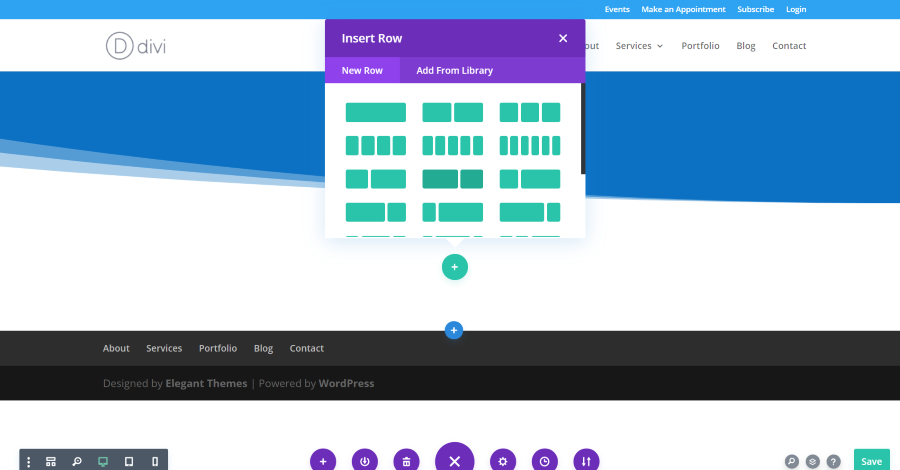
Select the row with the number of columns you want. I’m selecting the row with two columns with the left column larger than the right.
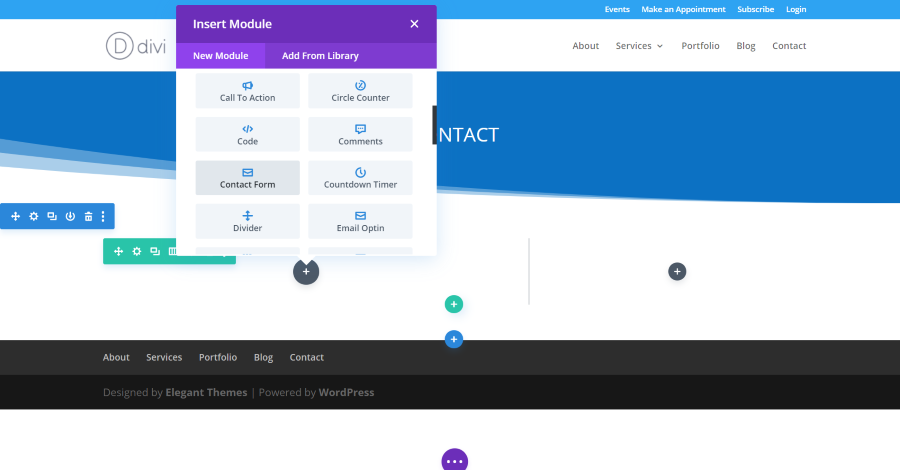
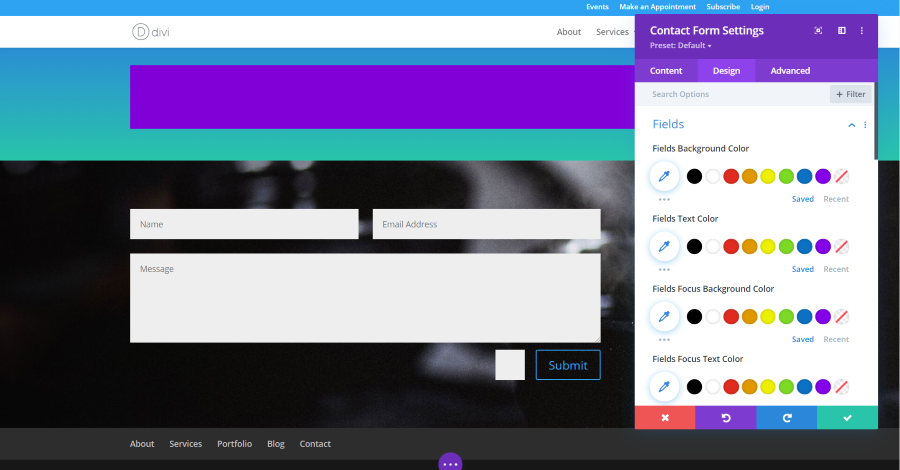
The first column will open the window with the modules. I’m adding a Contact Form.
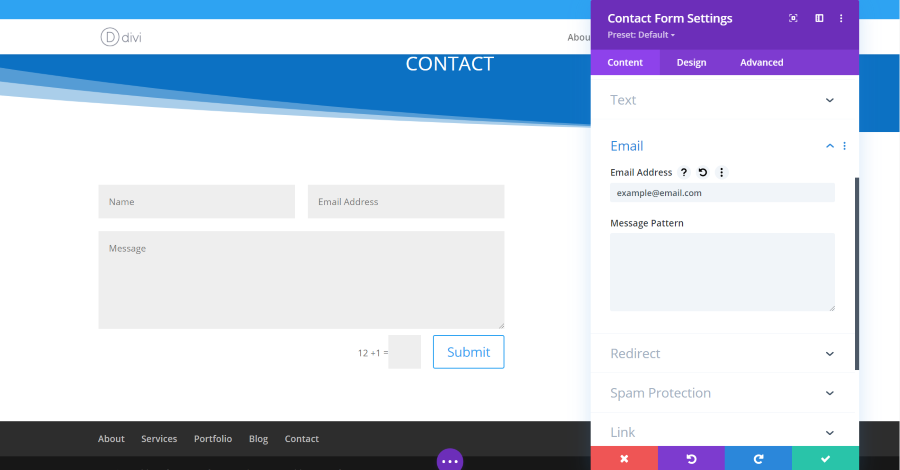
Open the Contact Form’s settings and scroll down to Email. Add the email address you want the messages to go to. Make any other styling changes you want and click the green checkmark.
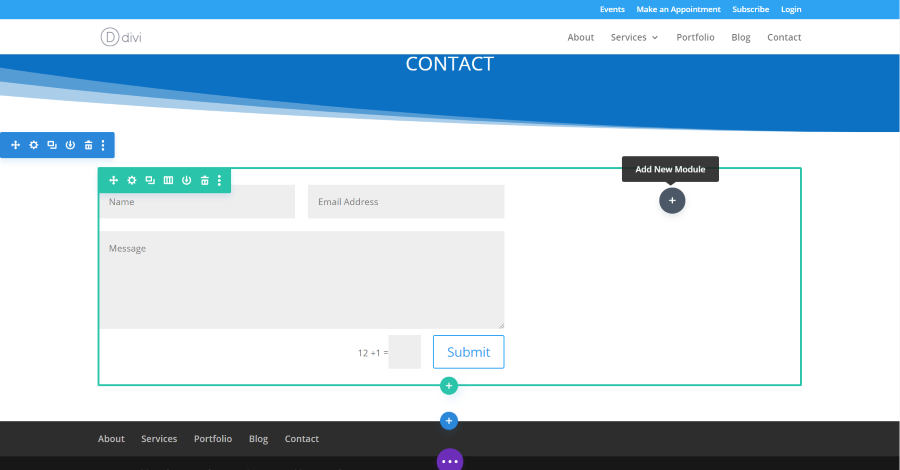
Click the icon in the next column to add a new module.
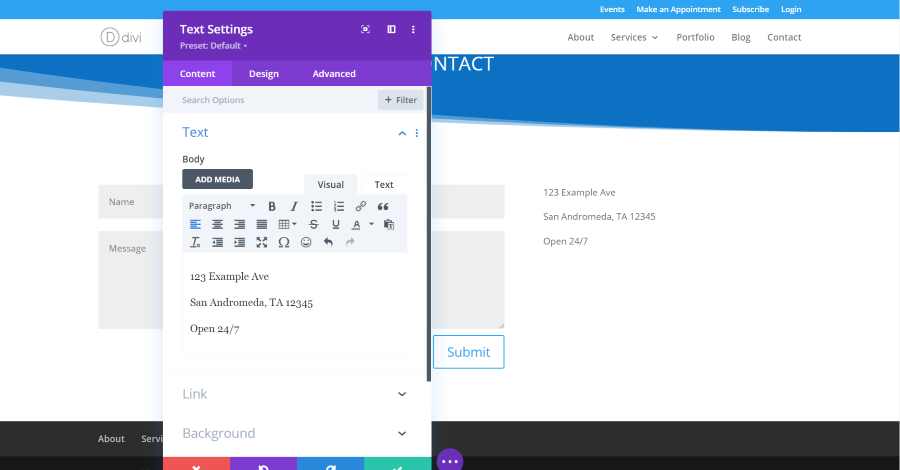
I’ve added a text module and placed the address and open hours in the text editor. Make any styling changes you want and click the green checkmark.
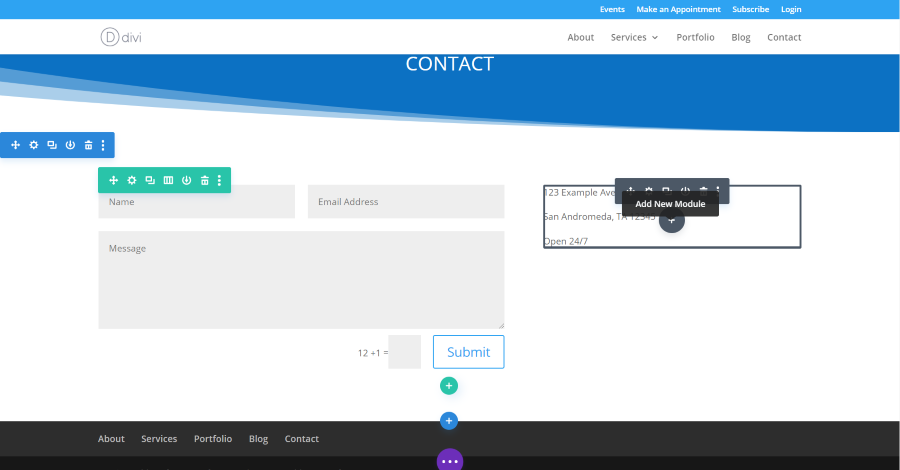
Hover over the Text module to see the icon to add a new module. Clicking the icon will place a module under this one.
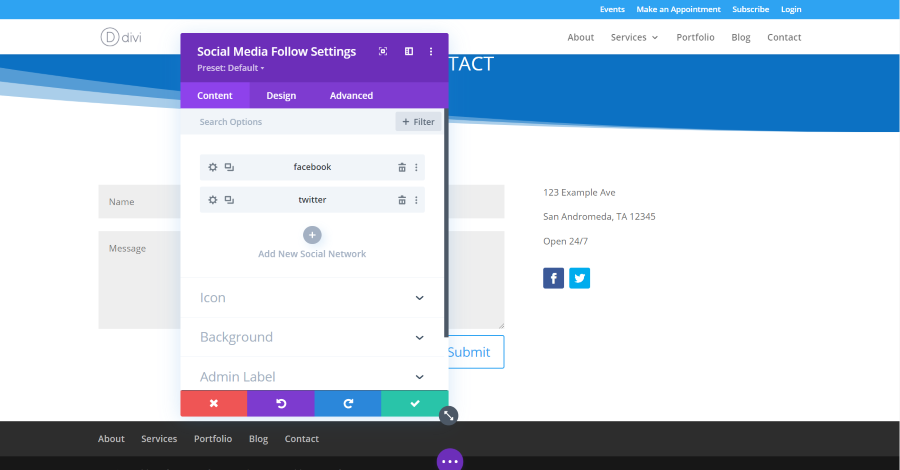
I’ve selected the Social Media Follow module. Open the sub-modules to choose the social media networks you want to include and add your links to them. Style the module using the settings in the Design tab if you want and click the green checkmark.
Publish your page by selecting Publish in the menu within the purple icon at the bottom of the page. Once it’s saved, exit the Visual Builder.

We now have a simple contact page. We can always make more changes and add new elements if we want.
Another option is to build a page by using a pre-made layout from the Divi Library or using one of the built-in layouts. We’ll look at this option in the next article on Getting Started with Divi.
Ending Thoughts
That’s our look at the foundation of using the Divi Builder. Divi is easy to use, but it can be difficult knowing where to start. Following the steps in this article should get you started in the easiest way possible. Everything else that you can do with Divi is based on what you’ve learned in this article.
For part two of this series, see Getting Started with Divi: Purchase, Installation, and Setup.
We want to hear from you. Are you new to Divi? Let us know what you think about it in the comments.


I am new to Divi and I was editing a page. When I went to save my changes, I did something that moved the purple ellipsis from the bottom of the page to the top. I do not know how to get it docked to the bottom of the page where it belongs.