Divi has everything you need to make stunning websites, but most designers and developers are looking for ways to push their designs even further. One of the most popular enhancements is hover effects. Hover effects are a great way to provide micro-interactions – little effects that show your visitors that something is clickable. They can also provide more information so the visitor knows more about what they’re clicking on. In this article, we take a look at 7 unique ways to add hover effects to Divi.
Most of these methods are tutorials, which include step-by-step instructions and downloadable code. The tutorials are a great way to learn how to use code, and if you prefer, you can download them and the provided code within downloadable layouts (so you can skip the tutorial if you’d rather start using them right away). There’s even a plugin or two that does all the work for you and adds even more features.
The 7 methods are in no particular order. Let’s take a look…
1. How to Add Advanced Hover Effects to Divi’s Blurb Module Using Hover.css
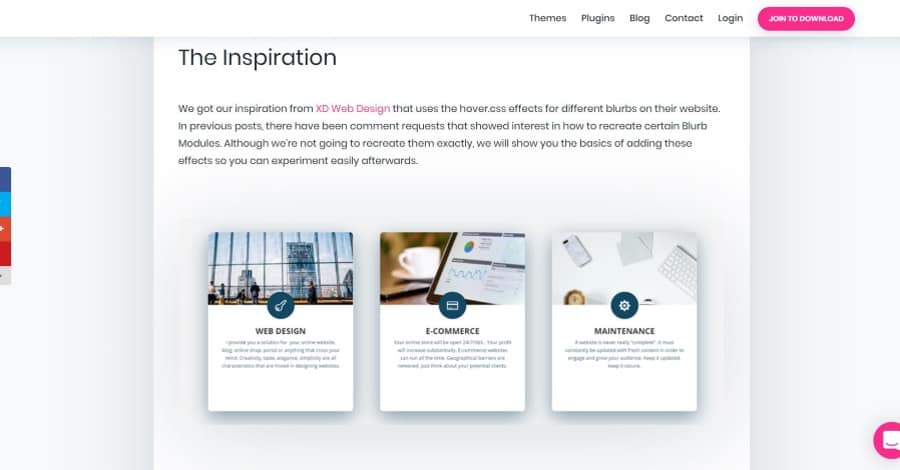
This tutorial provides step-by-step instructions and the code you need to add hover effects to the Divi blurb module. It uses Hover.CSS, which is premium code that you can download from GitHub that adds lots of 2D transitions, background transitions, icons, border transitions, shadow and glow transitions, speech bubbles, and curls. The tutorial covers both an image and blurb module. It includes both text and video. It’s a little complex but creates amazing blurbs.
2. Blurb Module Hover Effects
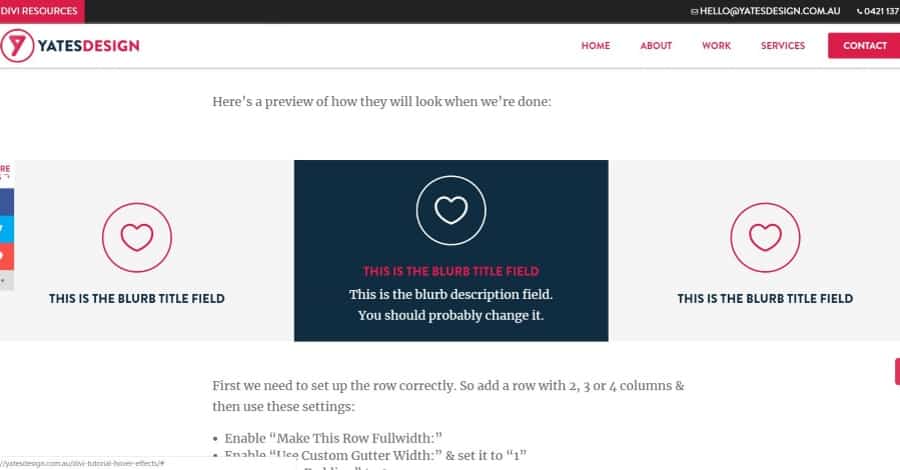
This tutorial uses a blurb module with some custom CSS to add a hover effect that changes the color of the background, icon, and title and adds another line of text (which shifts the icon and title upward). The tutorial includes module settings and provides the CSS that you can copy and paste. Alternatively, you can download the layout with CSS and settings already added.
3. Image Intense Plugin
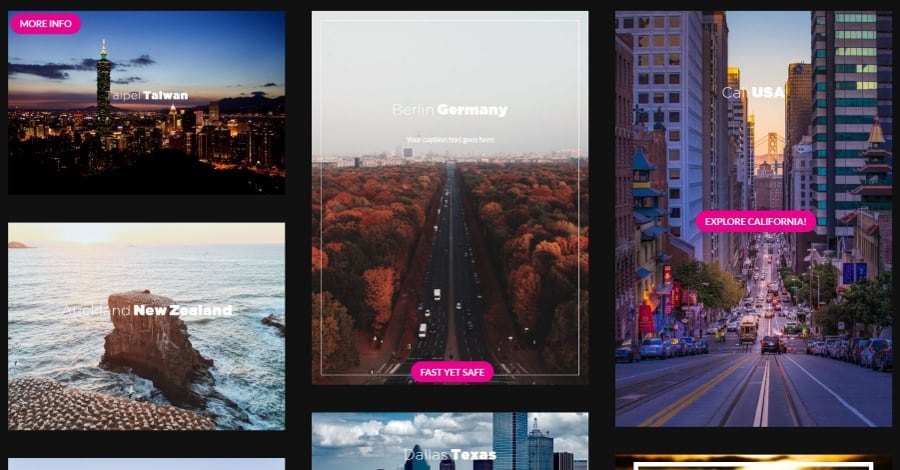
This is a plugin that mixes 3 modules and adds 22 overlays and hover effects to images, text, and buttons. A new module is added to the Divi Builder, so there’s no need to copy and paste code. Choose the image size, hover style, and opacity. Set the overlay title, caption, and choose the orientation. Set the button styles, background, overlay, image alignment, and lots more. You can even set button attributes to follow, no opener, etc. All the standard Divi module settings are here including backgrounds, animations, text, borders, shadow effects, and more.
4. Animated Image Caption Hover Effects in Divi
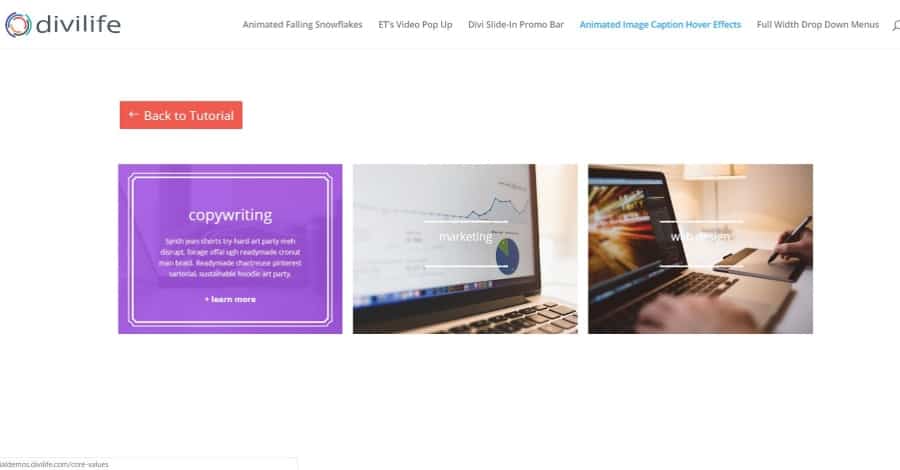
This tutorial places a caption over an image on hover. It includes an overlay, title, text, link, and a styled border. It adds HTML and CSS to a code module. It also teaches how to upload the images a link them with HTML in the code module. The code is provided so you can copy and paste it. Alternatively, you can download the layout which includes the code. Links to additional resources (similar tutorials and plugins) are provided. The tutorial includes both text and video.
5. 11 Divi Menu Hover Effects That Rock!
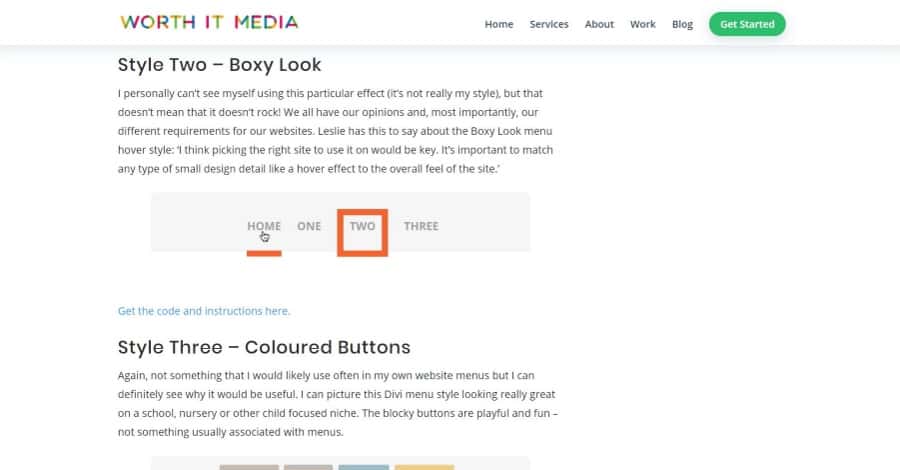
This one is a list of hover effects for menus with links to tutorials or a plugin to create the effects. It includes detailed descriptions of each effect, GIF demonstration, and provides links to tutorials or to the Divi Menu Express plugin. There are 7 tutorials that include code and step-by-step instructions, and a few include both text and video. The plugin includes 4 effects. Plugin descriptions include an image from the settings screen and GIF’s of the effects. The plugin is free and is currently in beta.
6. Divi Hover Options
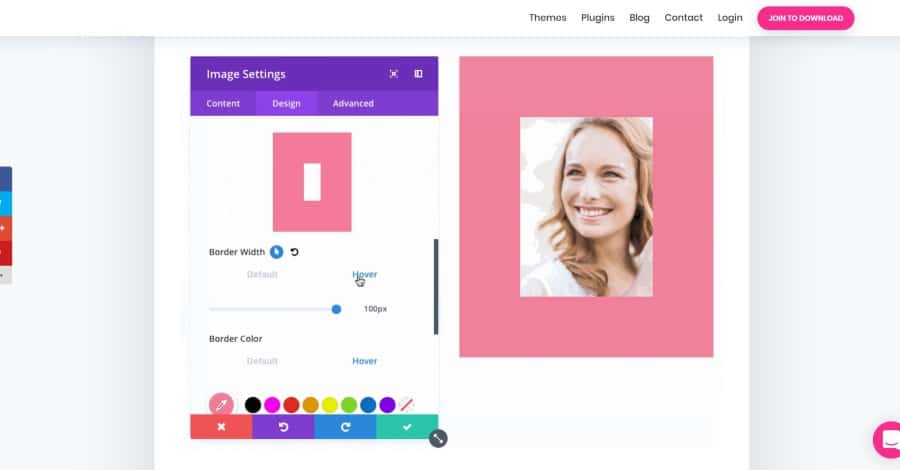
Elegant Themes has added lots of new hover effects to the design settings of Divi modules. It works with any transitional option. Change background colors, add borders, and add new overlays to modules such as images, blurbs, and more. Design the element as normal and then select the hover option and design how you want its hover state to look. The module will then transition to the new design on hover.
7. How to Add Elegant Hover Effects to Divi Modules
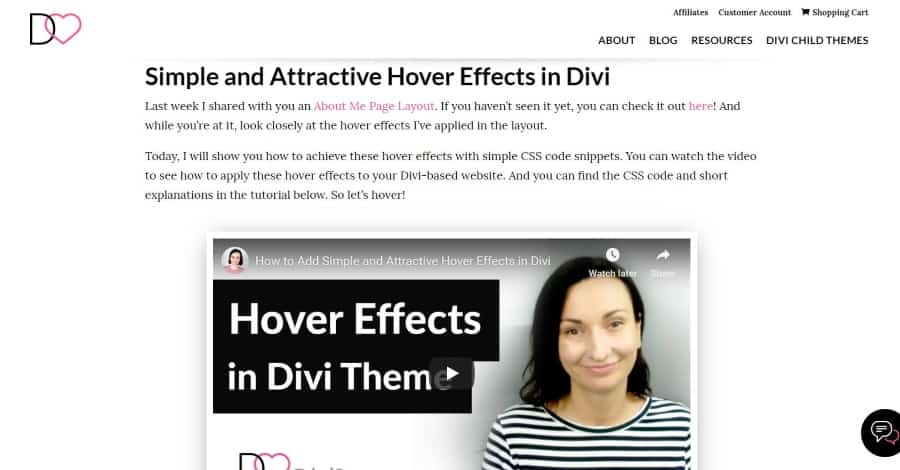
This tutorial shows how to add 5 different hover effects using CSS. It shows how to add effects to a button, columns, changing one element while hovering over a section, reverse image filters, and hover effects for an element inside of a module. The tutorial includes a detailed video and short written explanations with code that you can copy and paste.
Ending Thoughts
Practically any website could be enhanced with hover effects. These 7 unique ways to add hover effects to Divi are a great place to start when creating micro-interactions for your Divi website. These tutorials are well-written and easy to follow, and even provide the code to save you time. Several of them allow you to skip the tutorial and download them as layouts. To save even more time, and add new features in the process, grab one of the plugins. Either way, you’ll find what you need on this list to enhance any Divi website with some cool hover effects.
This article was last updated on march 14th of 2022.
We want to hear from you! Which of these methods for adding hover effects to Divi is your favorite? Let us know in the comments.



0 Comments