Diving into the world of Divi, you’ll quickly discover that the Divi Blurb module is a real crowd-pleaser. Its versatility knows no bounds, and if you’ve been exploring our blog, you’ll know we’ve got a treasure trove of Divi Blurb Module tutorials waiting for you. Now, in this guide, we’re about to unleash some style and user-friendly magic as we take your Blurb modules to the next level with a captivating hover effect.
First Step: Add A Custom CSS Class To The Divi Blurb Module
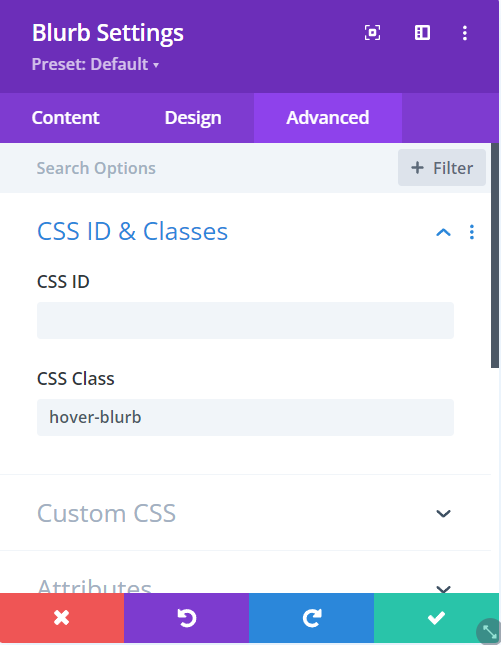
To begin, place the Divi Blurb module in your layout and add an image, a title, and some text. Now, go to the Blurb module settings and open the Advanced tab. Look for the CSS ID & Classes option, and toggle it. In the CSS Class input field, type in “hover-blurb“. This step is important because it helps us focus our special styling on just this module, making everything much easier to manage. For reference please follow the image below:

Adding a CSS Class to Divi Blurb Module
2nd Step: Implement Design Modifications
Once you’ve placed your image and text, it’s your turn to make your Blurb module look just the way you want. If you’re aiming for a specific look, like the one you’ve seen in our example, and want to apply some CSS style, here’s what you need to do:
- Add an image that fits your content.
- Make sure the text is right in the middle for a neat appearance.
- Give your image a subtle rounded edge by adding a 15px border radius.
Point to remember: If your image is wider than it is tall (horizontal), you might need to adjust the text. You could make the title text a bit smaller and shorten the body text to make everything look just right.
Read More: A Simple Guide to Creating a One-Page Website with Divi
3rd Step: Adding The CSS Snippet For The Hover Effect
Now, let’s dive into the exciting part! You can easily incorporate the CSS code snippet provided below into your website. If you’re using our free Divi child theme, simply insert this snippet into the style.css file. But, if you’re not using the child theme, don’t worry. You can still add this code by going to Divi > Theme Options > Custom CSS code box.
Copy the CSS Code Snippets from here
Read More: How to Rearrange the Divi Blurb Module: Placing the Title Above the Image
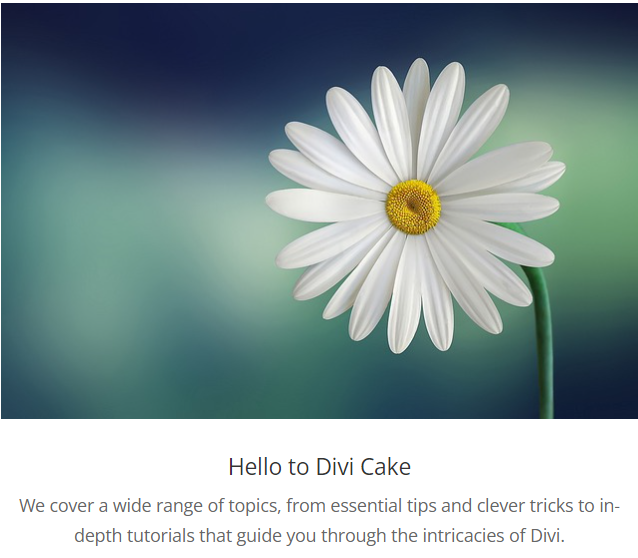
Default Blurb Module

Default Divi Blurb Module
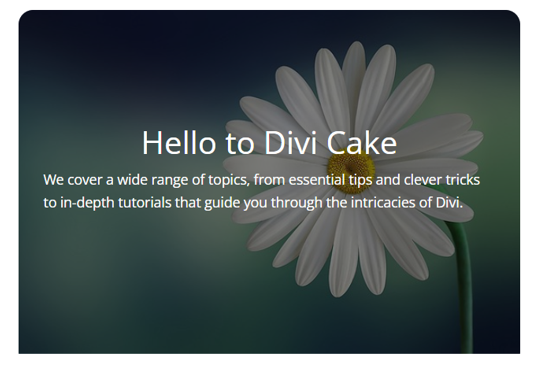
Divi Blurb Module After Adding Hover Effect

Hover Reveal Effect
Conclusion:
As we wrap up our journey into creating an eye-catching hover reveal effect for the Divi Blurb module, we hope you’re feeling inspired and empowered to take your web design skills to the next level. The Divi Blurb module is indeed a versatile tool, and with a touch of CSS magic, you can transform it into something truly captivating.
In just three simple steps, we’ve shown you how to add this beautiful hover effect, and it all starts with customizing your Blurb module and adding a CSS class to make it unique. From there, you have the creative freedom to design your module with an image, centered text, and a subtle border radius, ensuring your content looks just the way you envision it.
The icing on the cake is the CSS snippet that makes the magic happen. Whether you’re using a Divi child theme or the Theme Options, we’ve made it easy for you to add this snippet and watch your Blurb module come to life with a stunning hover reveal effect.
We’re thrilled to have been your guide on this journey, and we’d love to hear your thoughts and see the fantastic results you achieve. Share your feedback in the comments below, and if you found this post valuable, don’t forget to subscribe because we have a wealth of exciting tutorials in the pipeline, waiting to enhance your web design skills. Thanks for joining us, and happy designing!
Read More: Replace the Divi Blurb Icon With a Font Awesome Icon: A Step-by-step Guide


0 Comments